10 Steps to a Cleaner Aquarium.
We have compiled the following information in a step by step fashion that will lead you to a healthier and cleaner aquarium.
No 1. Cleaning magnets.
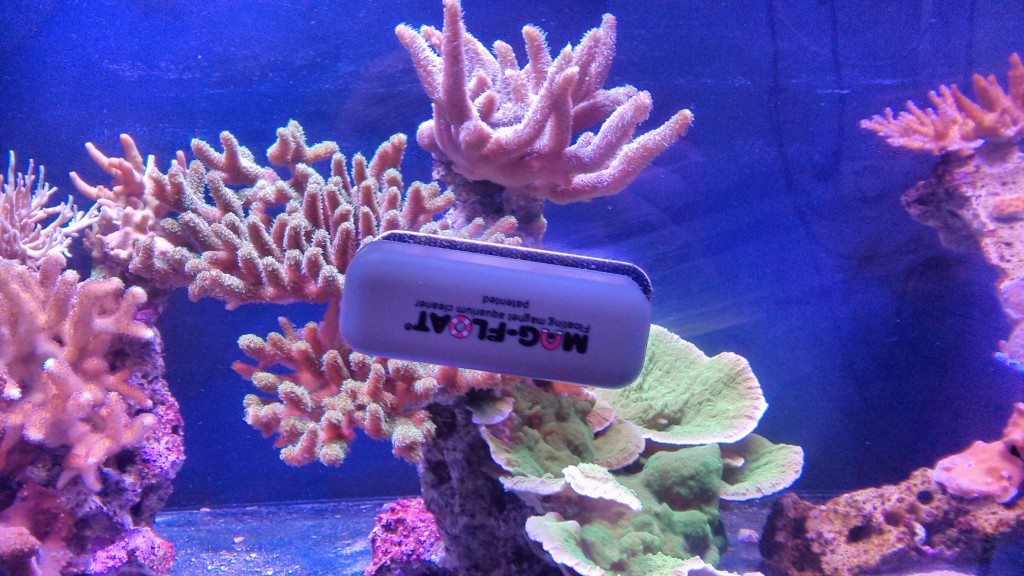
Glass cleaning magnets have been one of most useful innovations in the aquarium hobby. They allow you to clean your aquarium glass without even getting your hands wet. Each magnet has a different surface so ensure you have the correct magnet in the tank. The magnet with the Velcro type coating should be placed in the tank while the smoother surface magnet belongs on the outside of the tank. When buying cleaning magnets it is important to select the model that will work well with the glass thickness of your tank. There are several brands available but we feel the biggest bang for the buck are the Mag Float models.
No 2. Cleaning the corners
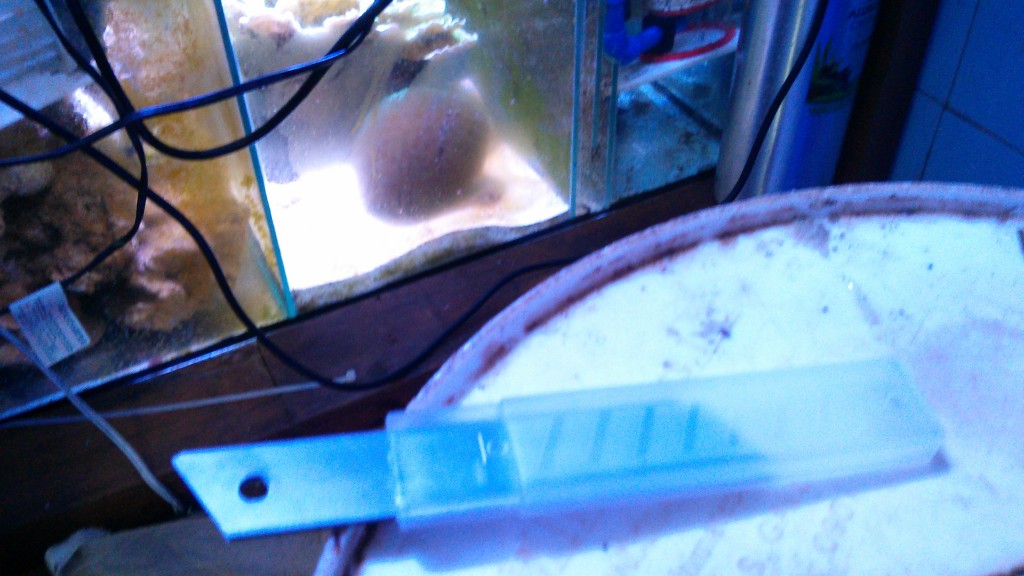
Obviously the magnetic cleaning pads are not going to clean the corners very well so the uses of a hobby knife or a box cutter blade work very well for this purpose. Be careful not to cut into the silastic material that joins the glass together or you may risk the possibility of a leak.
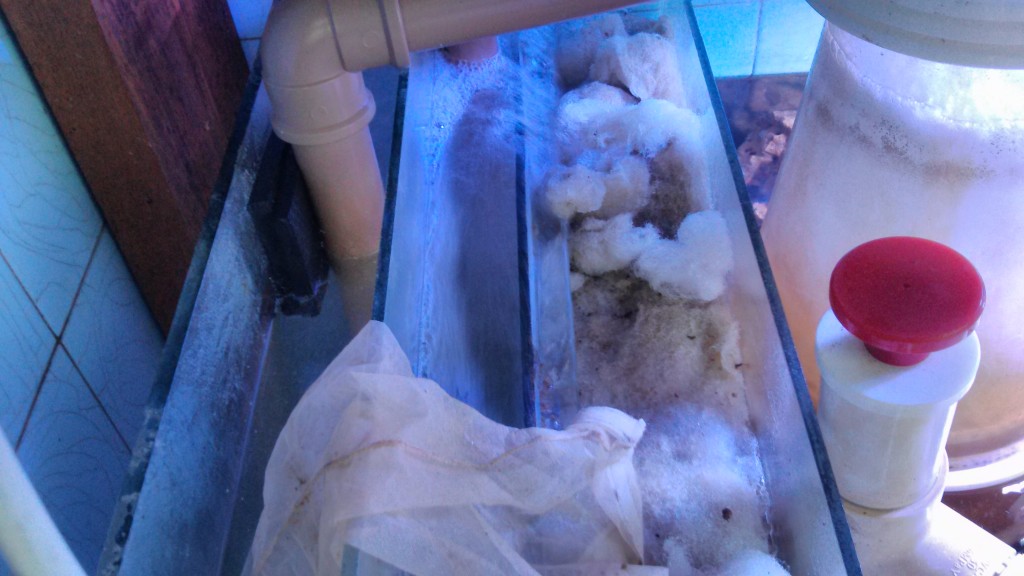
NO 3. Filter bags/Filter socks
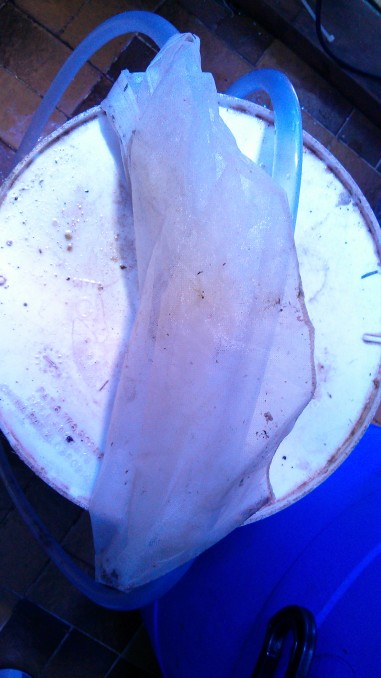
Most brands of sumps will include an area to hang a fine mesh filter bag or sock. The filter socks and holder are available on the market for sumps not equipped with this device. It is important to clean these items on a weekly basis as they will collect waste quickly and clog. If they are not cleaned on a weekly basis the trapped waste will break down into dissolved liquid nutrients which will raise the nitrate level of the tank and trigger nuisance algae growth. The mesh bags are easier to clean by simply back flushing the bag under running tap water. The filter socks are a little more difficult as they clean best when cleaned in a washing machine set on gentle cycle.
Some sumps will incorporate an area for filter floss and although this is a little more expensive when replacing weekly, it is very efficient.
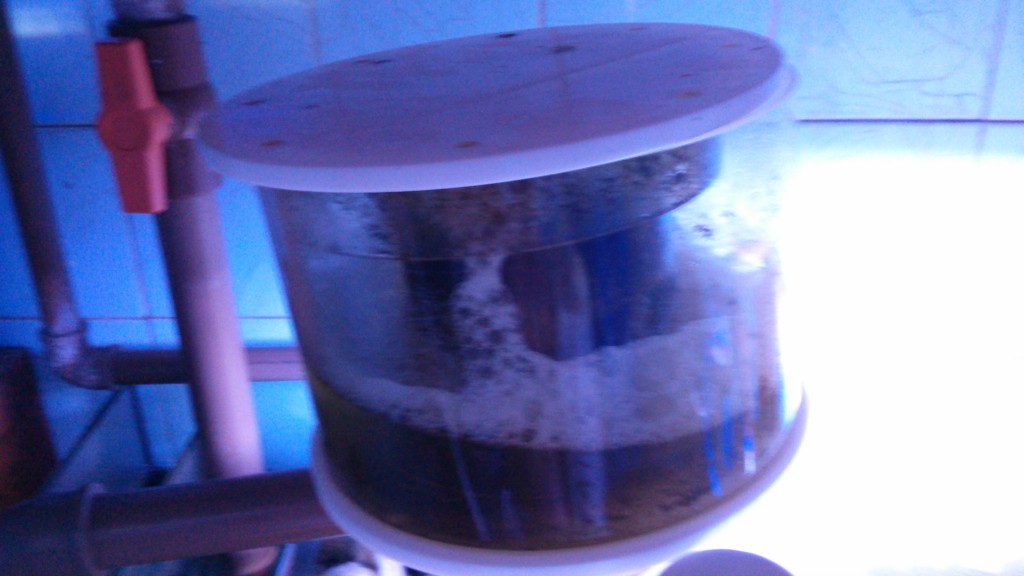
No 4. Cleaning the protein skimmer
The collection cup and riser tube should be cleaned on a weekly basis. In time, waste will build up on the walls of the riser tube and if not cleaned weekly, it will reduce the efficiency of the skimmer. The waste is acidic and this acidity causes a premature breakdown of the rising waste laden bubbles before they enter the collection cup. Paper towels and cleaning brushes are all that is needed for this operation. In time the bottom of the skimmer will collect waste and this needs to be cleaned also. Many skimmers do not have a removable bottom so this process can be difficult. The Orphek Helix skimmers all feature a removable bottom for easy access.
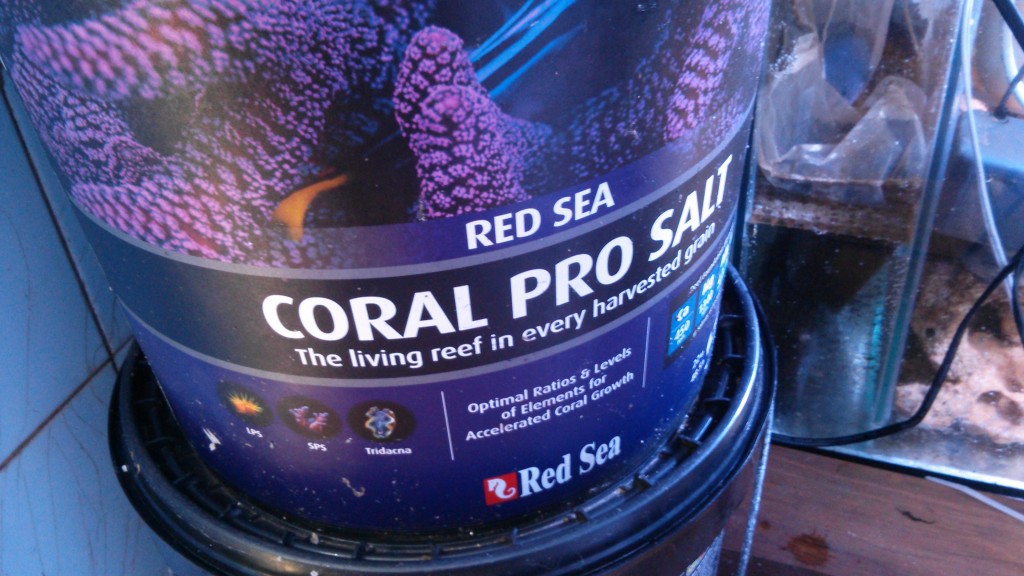
No 5. Water changes
It is very important to make regular water changes either bi-weekly or monthly. This purpose serves to replace any lost trace elements, both major and minor and also reduces any nitrate or phosphate levels in the aquarium by dilution. It is important to ensure that the replacement water is the same or close to the same temperature and salnity as the tank water. The pH should also be close to what is present in the tank water. If you have substrate in your tank, a gravel cleaner siphon works very well to stir up the sand and remove trapped waste. You can control the output of the siphon by controlling the return line with your fingers. You will soon know how much to control the water output from the tube by observing the sand stirring in the tube. You want to remove as little sand as possible. There are battery operated siphon devices to perform this duty as well.
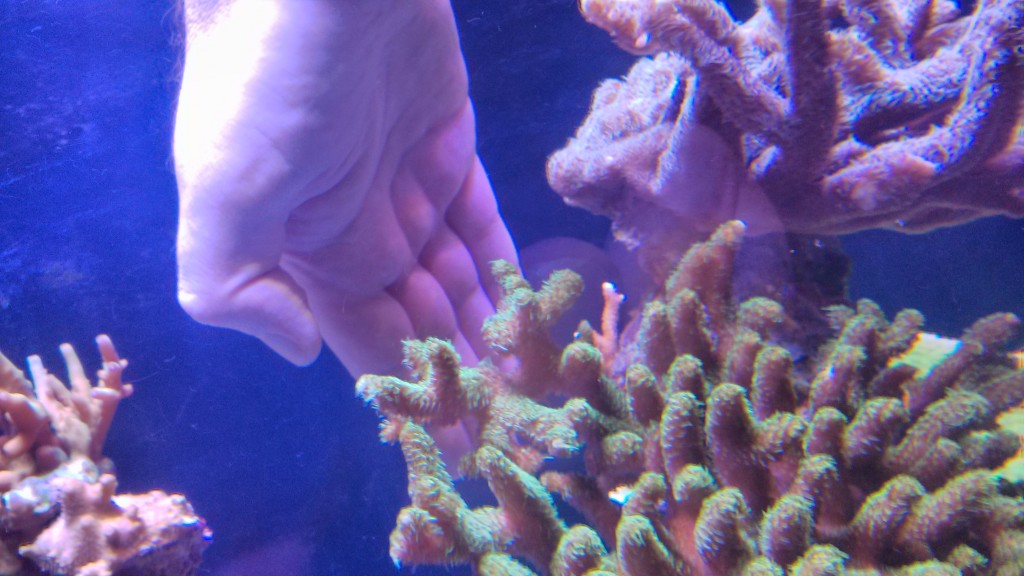
No 6. Cleaning hard to get at areas in the tank
When doing your water change it is a good time to clean around the coral and rock any trapped waste that may settle there. These are usually areas where water flow is restricted and the waste is not removed from the system. Two methods can be the use of your hand to create a current to lodge the waste out into the open, and another method is the use of a turkey baster which works quite well.
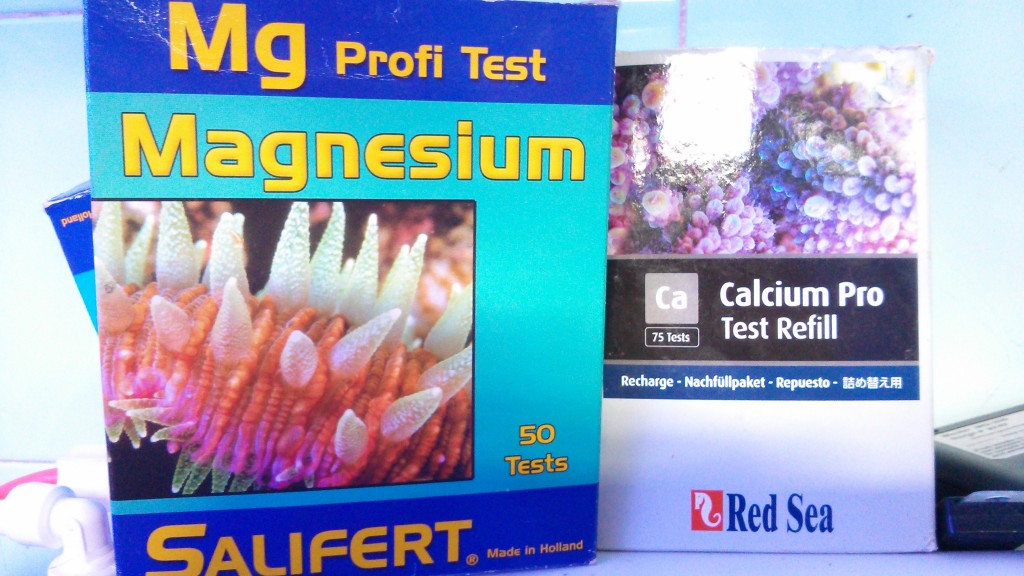
No 7. Testing
Testing water parameters should be performed at least twice per month and the data you record should be saved so you have a record of any changes that may have taken place. In this regard it could help you relate to a problem you may have had and what may have caused it. If you are familiar with Excel you can create an easy record of your measurements and save them for future reference. It is important to use quality test kits for accurate results and to also observe the expiration date on the test kits to ensure the shelf life of the reagents has not been exceeded. Digital test kits are getting more affordable and offer a higher degree of accuracy than reagent type test kits.
No 8. Cleaning probes
Monthly cleaning of probes used by digital testers is necessary to ensure accuracy. The probes can be soaked for an hour or two in cleaning solutions available for this purpose. You should also calibrate your pH tester monthly with a low and high pH calibration solution.
No 9. Keep a photographic record of your tank
It is recommended that you keep a photographic record of your tank and its inhabitants. This allows you to see both fish and coral growth that has taken place and to observe the development of potential problems such as increased algae growth so you can take steps to correct the problem. It is also useful for observing coralline growth within the tank. Clams grow very slowly but you should see a noticeable difference in size from year to year.
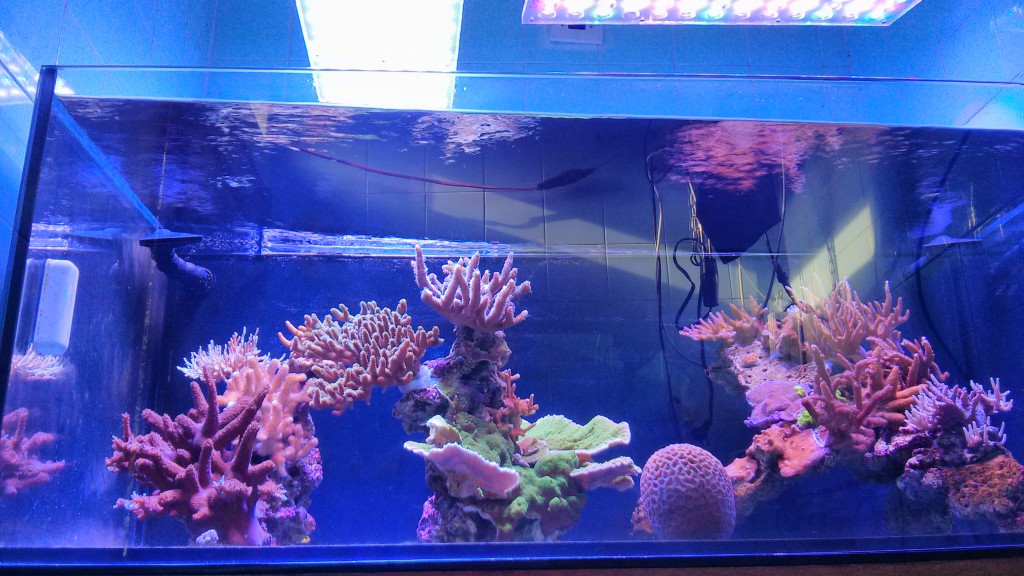
No. 10 Sit back and enjoy your clean tank
No comments:
Post a Comment