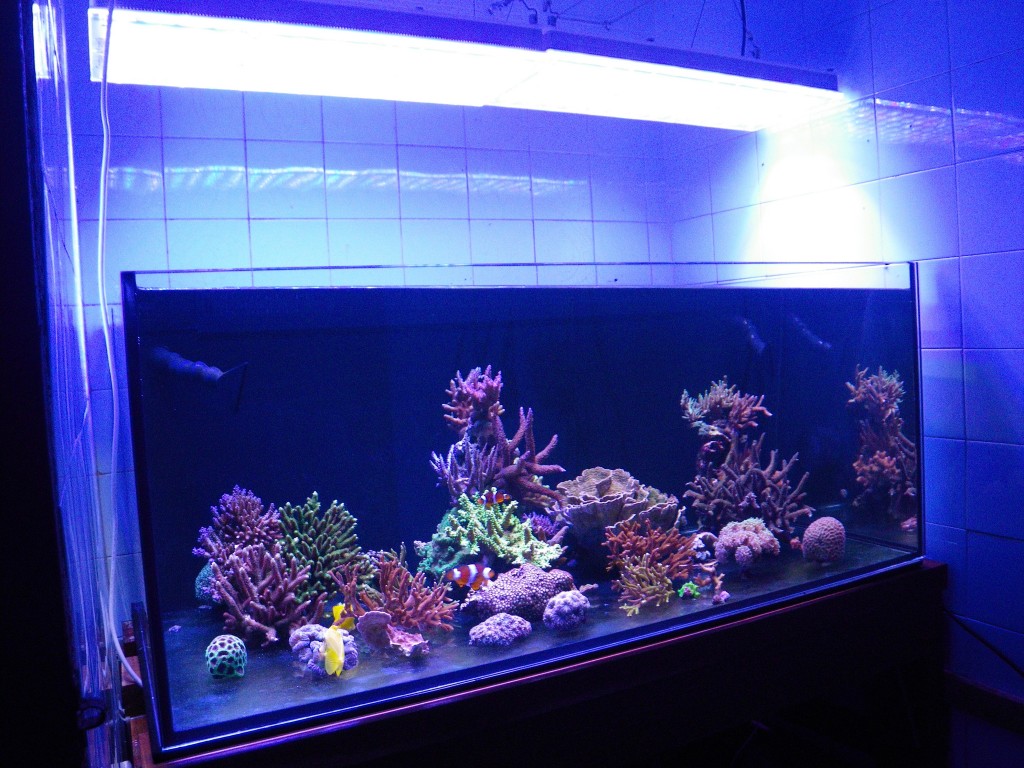
Aquarium Maintenance, a Reason Why Tanks Can Crash
There are several reasons for this, we feel one of the leading reasons is lack of maintenance. When a hobbyists first sets up his reef tank he is very excited and meticulous about how things look, cleanliness, and water parameters.
The hobbyists will start out by removing any obvious growth on the glass and test water parameters daily. Soon the tank develops into a very appealing looking tank making it very pleasant to look at. Because of the success of the system and seemingly like nothing can go wrong, the hobbyists slowly increases the time between water changes, glass cleaning, dosing additives and so on. Then one day the dreaded brown slime algae begins to coat the rock work and water parameters are off the chart, pH is often dropped to 7.6 to 7.8, dKH is low, and a 3 to 1 balance does not exist between calcium and magnesium; phosphate levels are high, and by high, we mean if you can read it on your test kit, it is high. In some cases bubbles can rise from the sand bed to the water surface. This is not good for fish or corals; it is gas being formed by hydrogen sulfide in the sand bed. Waste is being formed faster than it can be removed.
What did I do wrong the hobbyists asks? The answer is to basically return to the day when you first set your tank up and perform maintenance religiously. Keep the skimmer reaction chamber clean, change mechanical filter media weekly and at this stage, weekly water changes are recommended. The use of a good grade of carbon or chemical media is also recommended and should be changed at least once a month depending on the livestock load in the tank.
So what is the best way to clean and maintain a tank to keep it healthy? To keep that beauty you once had you must do preventative maintenance on a weekly basis just as you did in the initial weeks of your tank build.
Water Changes
Most successful reef hobbyists will change 10% of the water every fortnight (two weeks). If that does not fit into your schedule then 25% to 30% should be changed monthly. The recommended way to prepare water for a water change is to make enough R/O water ahead of time. Tap water is not recommended. It can contain many impurities and phosphates. If you must use tap water, have it analyzed for its content before using it.
Place the water in your mixing tank or barrel and aerate it for 24 hours. We do not mean you must aerate with an airstone, but to use a powerhead and circulate the water well which will give a constant air exchange with the surface of the water. Place a heater into your mixing tub and bring the water up to the same temperature as your display tank. The pH difference between your tank water and new water should be kept as close as possible. After 24 hours you can now add the salt and mix to the specific gravity of your display tank. After the salt is fully dissolved and the water is clear you can begin the water change.
It is best to use a gravel type cleaner siphon for removing the water so you can stir up the gravel and suck out any debris or waste. You will have to use your thumb and forefinger on the tube to control the volume of siphon so you only suck out a small amount of the sand, preferably none but this is almost impossible to do. You can always add a little more sand to make up any loss. This is also a good time to remove anything from your rock that does not belong there. Stiff bristle toothbrushes work well for this. This is also a good time to check the weirs (combs) on your overflow box and remove any debris that they may have trapped.
Once you have removed the amount of water you want to change you can slowly add the new water to the tank. After 24 hours it is a good idea to check water parameters and compare to your previous tested water parameters. A 24 hour period allows the new water chemistry to stabilize. This is also a good time to change your filter and chemical media if it is due to be changed.
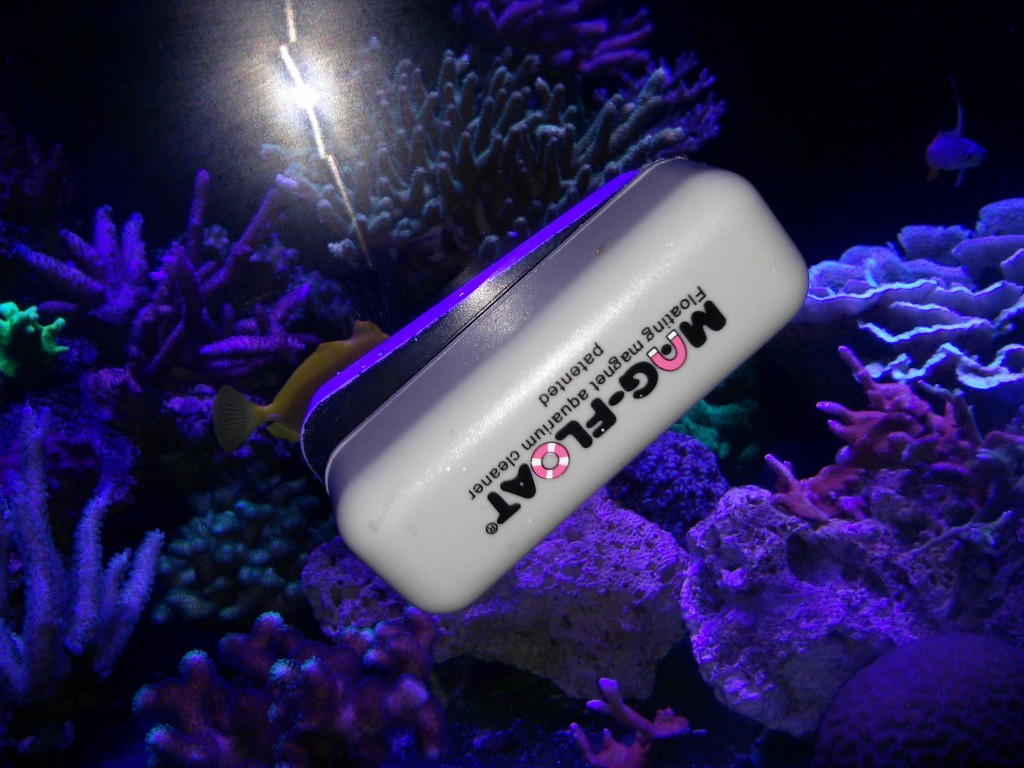
Cleaning Glass
One of the best tools for cleaning glass is magnetic glass cleaners and be sure you select the proper size for your glass thickness or it will not be effective. The magnetic cleaners cannot get at corners so a cleaning pad is suggested to remove algae in the corners. If your tank is acrylic, be sure to choose a pad or magnetic cleaner that is safe for acrylic.
Another reason that can lead to tank crashing is lack of proper equipment and poor circulation which leads to stagnant areas of the tank. Protein skimmers should be chosen based on their effectiveness and the skimmer selected should be rated for at least 1.5 times the actual volume of your tank. There is no such thing as overskimming. For water flow, the total volume of all pumps should equal at least 10 times the volume of your tank. Wavemakers or programmable pumps are highly desirable as they prevent stagnant areas from forming in your tank.
If one follows the basic maintenance stated above your tank will be a much healthier tank and be a pleasure to look at. There are advanced chemistry media/bacteria that can further help you in keeping a clean tank. Once such product is Brightwell’s Micro Bacter 7. Basically it is a liquid based bioculture for establishing biological filtration which rapidly improves water quality.
Great article and advice.
ReplyDeleteThanks Lawrence !
ReplyDeleteOh, one more thing. Just got my Orphek lights last week and LOVE LOVE LOVE them!
ReplyDeletethanks you can post here some pictures
ReplyDeletehttps://www.facebook.com/OrphekAtlantik